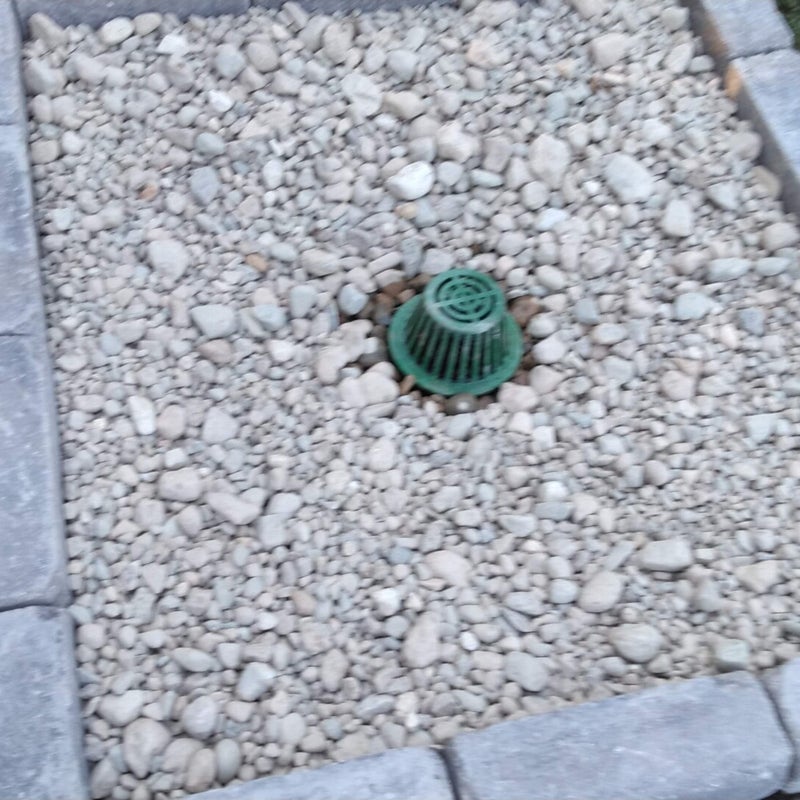
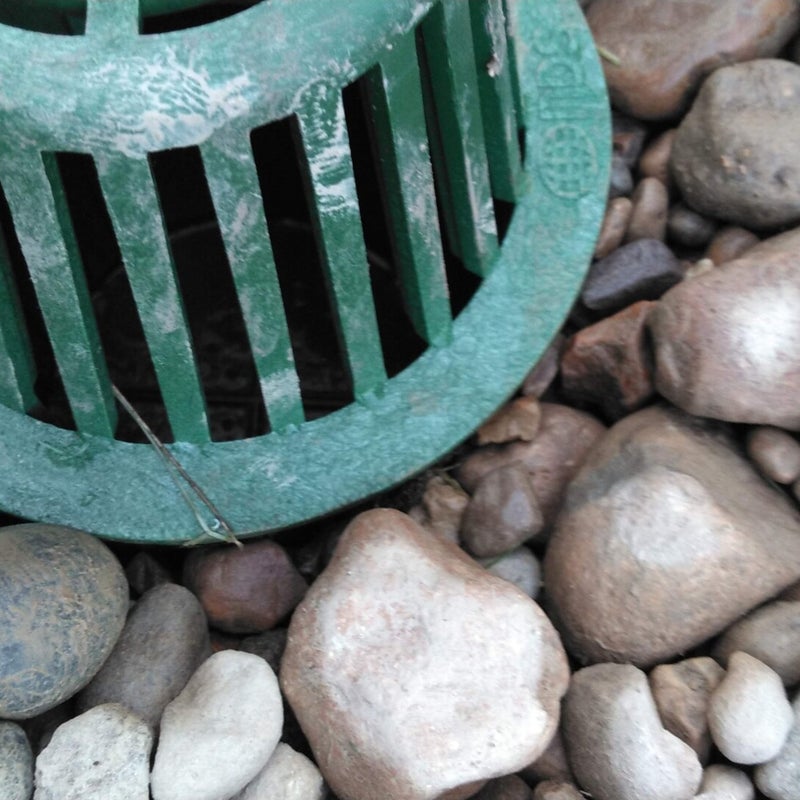
Catch Basin Project
The installation of catch basins in a home's backyard to protect against water seeping into the basement. Project beginning on June 18, 2023. The first day consists of assessing the layout of the catch basin installation. Line level and string and measuring tape required. Project planned completion date of June 23, 2023. The trench for the PVC pipe and the hole for the first catch basin (Run #1) dug June 19-20, 2023. More pictures available day by day.
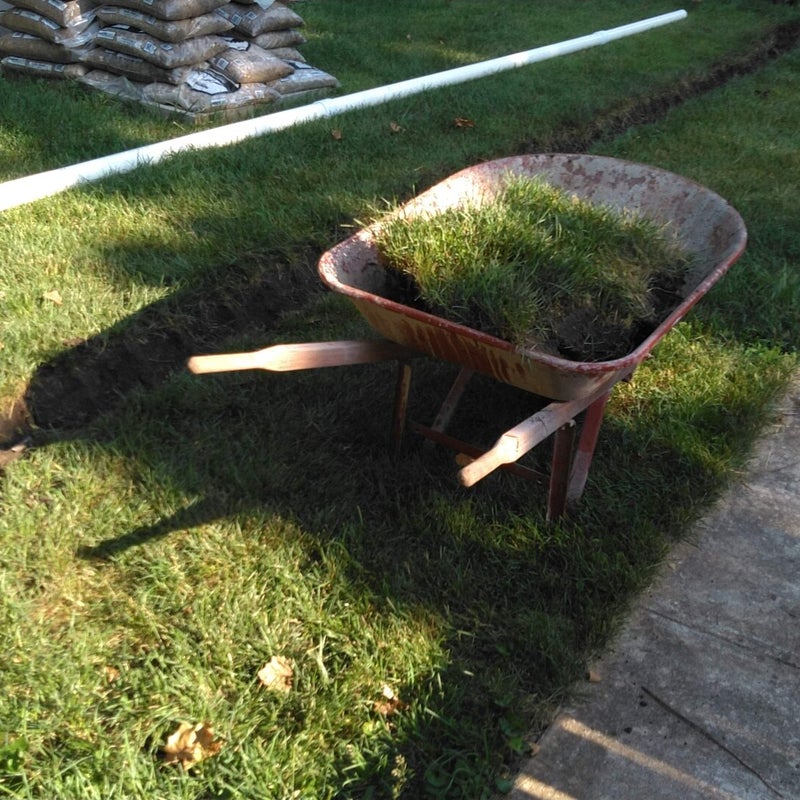
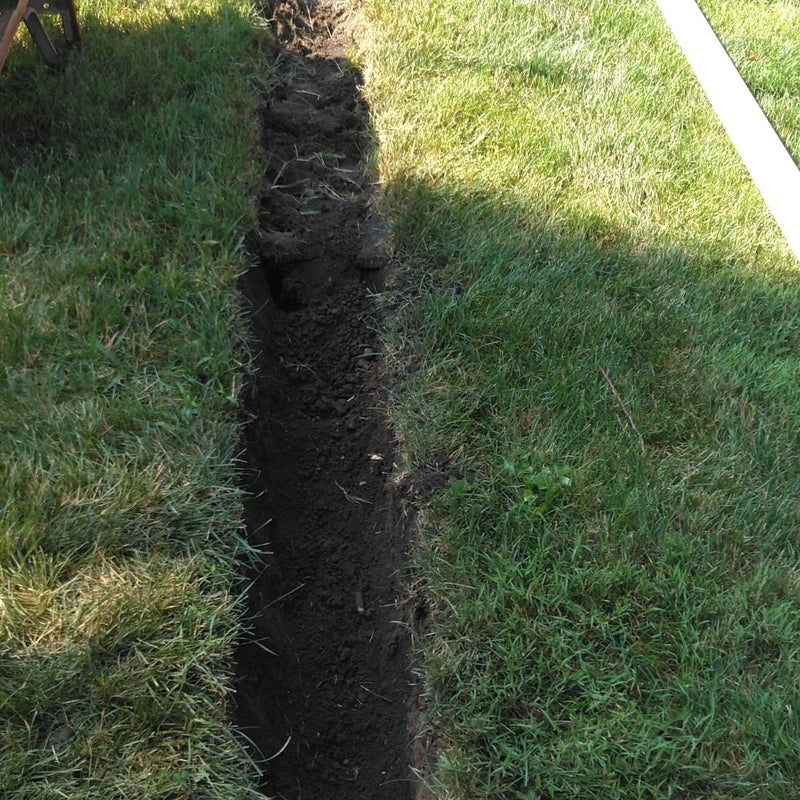
The digging of the trench begins. The cellular (foam) core PVC (DWV) schedule 40 pipe is used for this project as personal preferred choice. Other types of DWV pipe could be used which are less costly. The pipe fittings such as couplings are needed with this type of PVC pipe which does not have the "bell shaped" ends (which do not need fittings such as couplings for the most part). This pipe and the fittings were purchased before the COVID Pandemic began and the project was delayed until now (June 18-24, 2023). This type of pipe requires the schedule 40 fittings but somehow the wrong fittings were provided so they all are taken back to the supply store for a refund and to purchase the schedule 40 fittings which slowed the project down by 1/2 day--mistakes happen. The first 15 feet of trench and the hole for the input rainwater/snow melt water catch basin are dug anyway. Tomorrow the trench will be fully dug for this first catch basin run--there will be another. This one is the longest at 56 feet.

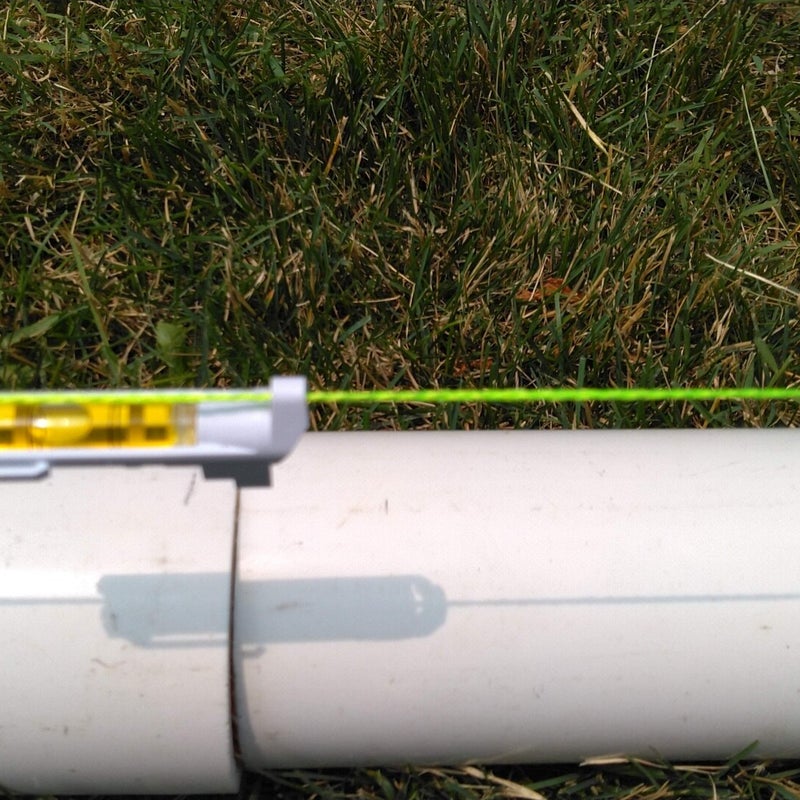
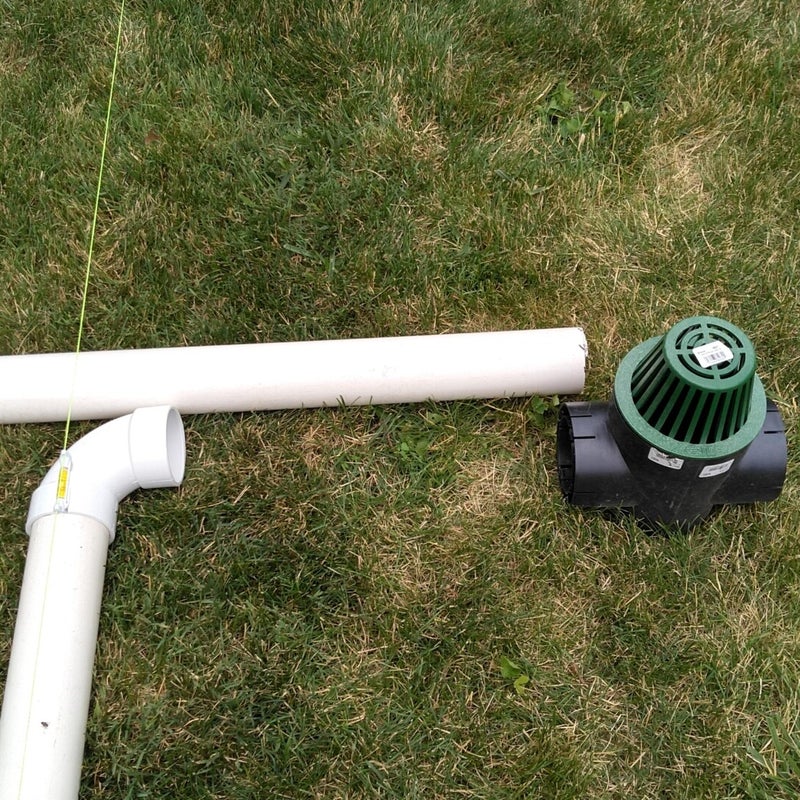
Line level shown attached to the fluorescent green line used to establish a level plane for reference.

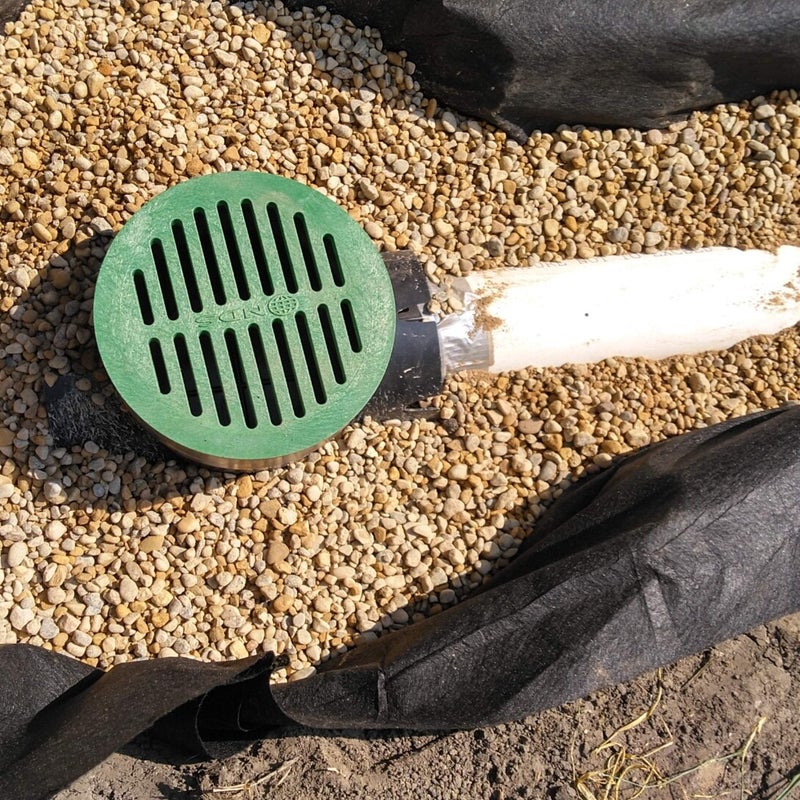
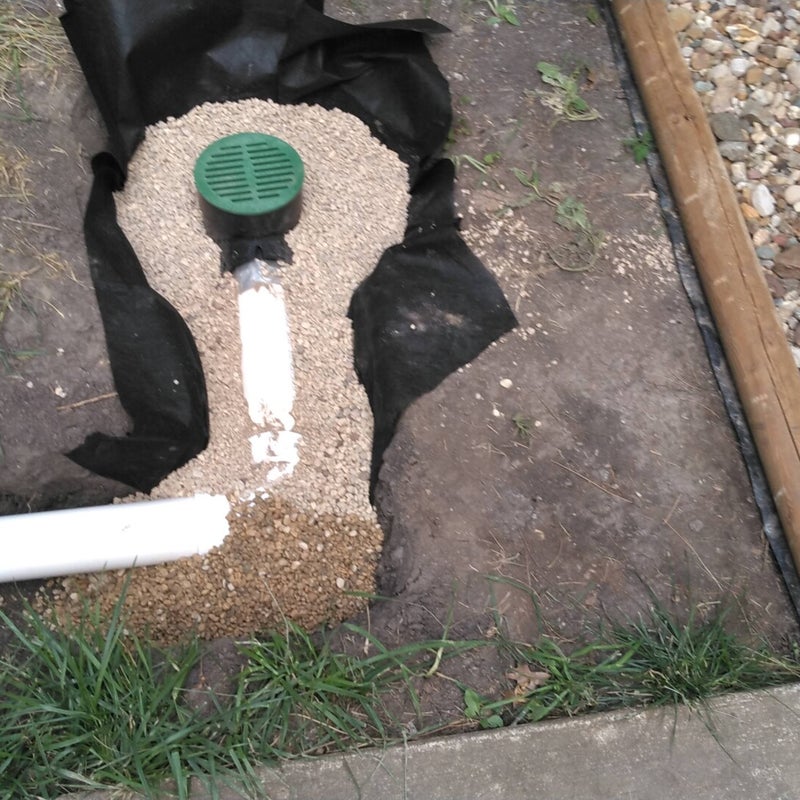
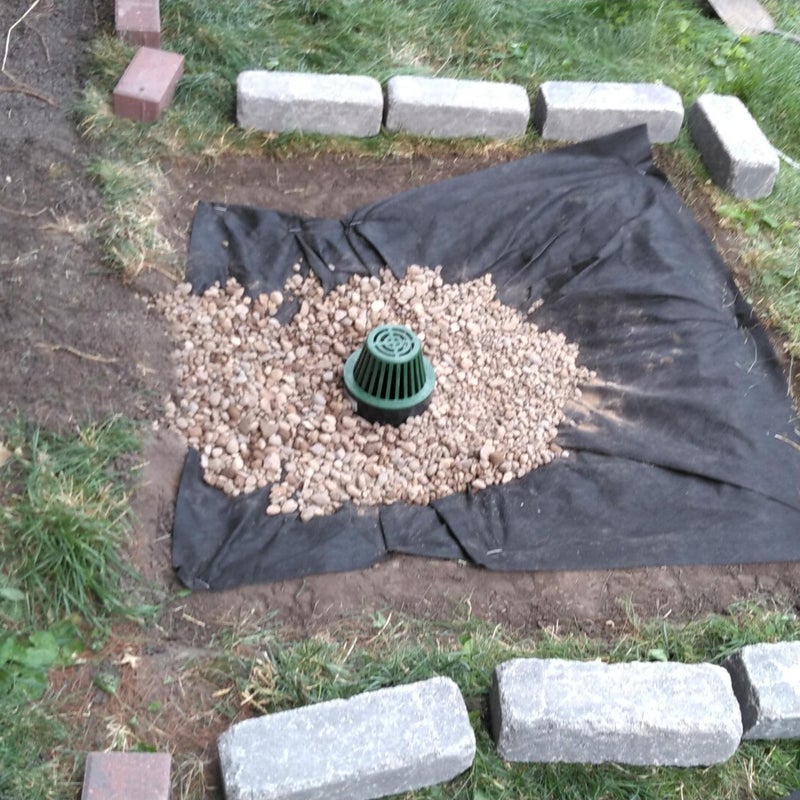
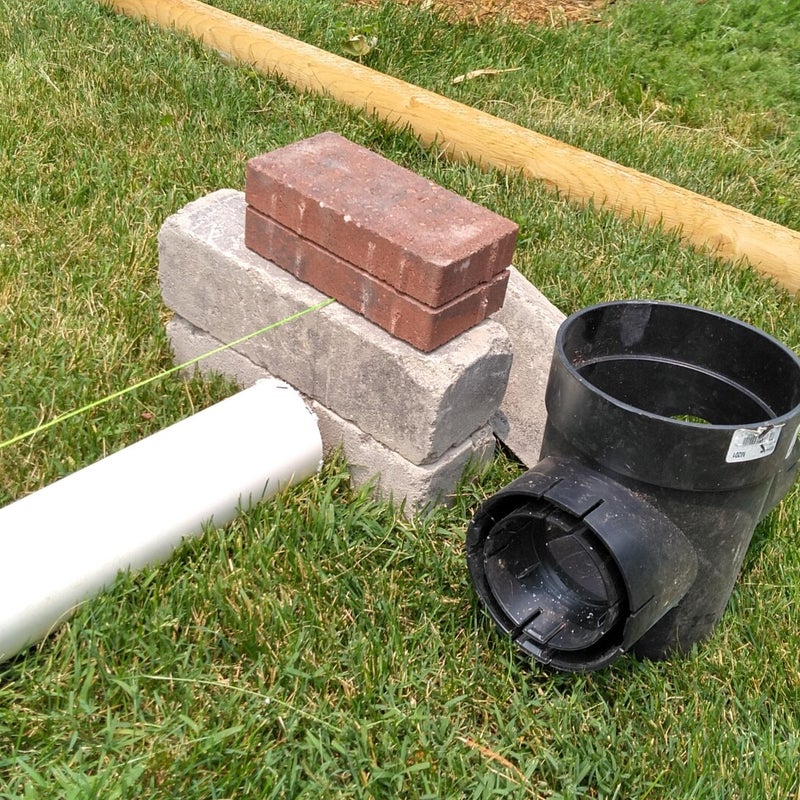
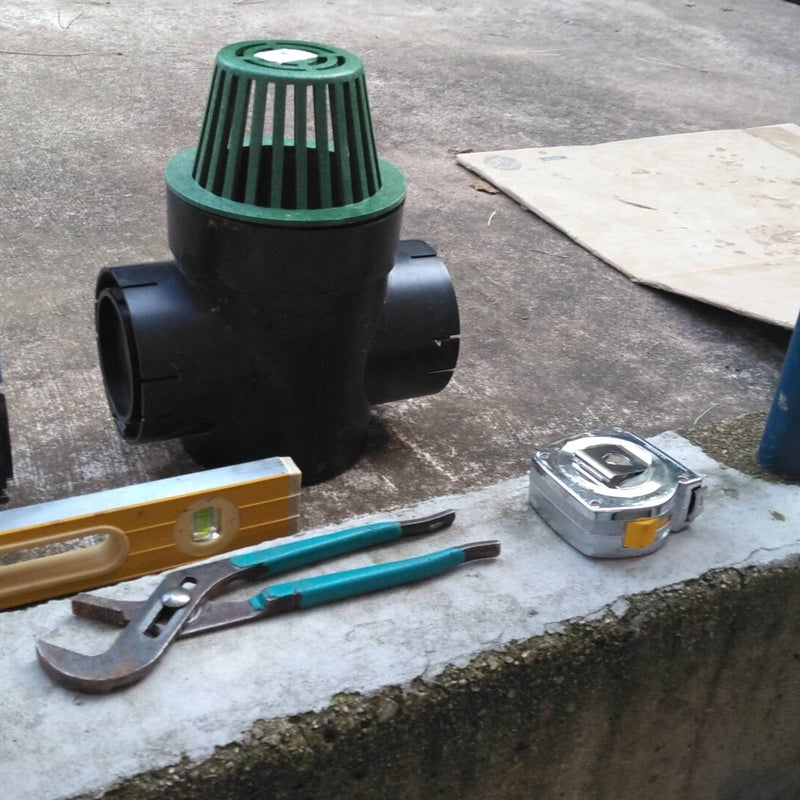
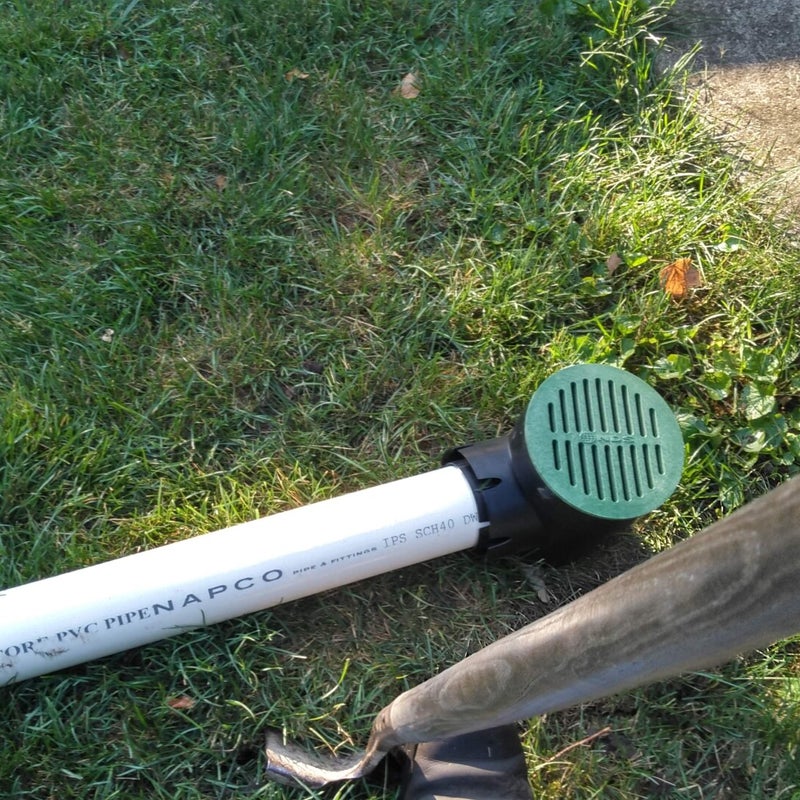
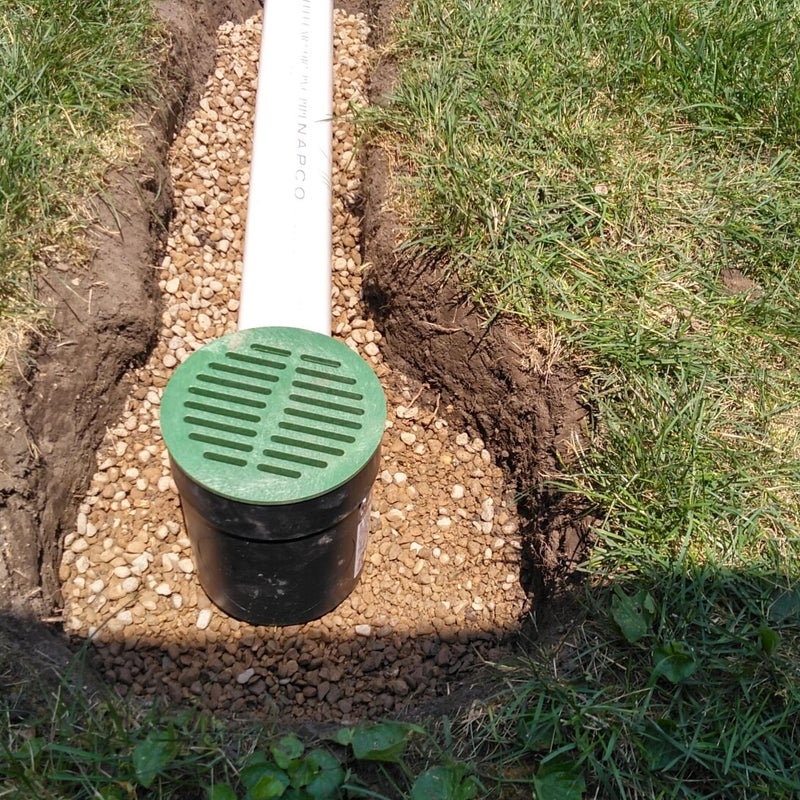
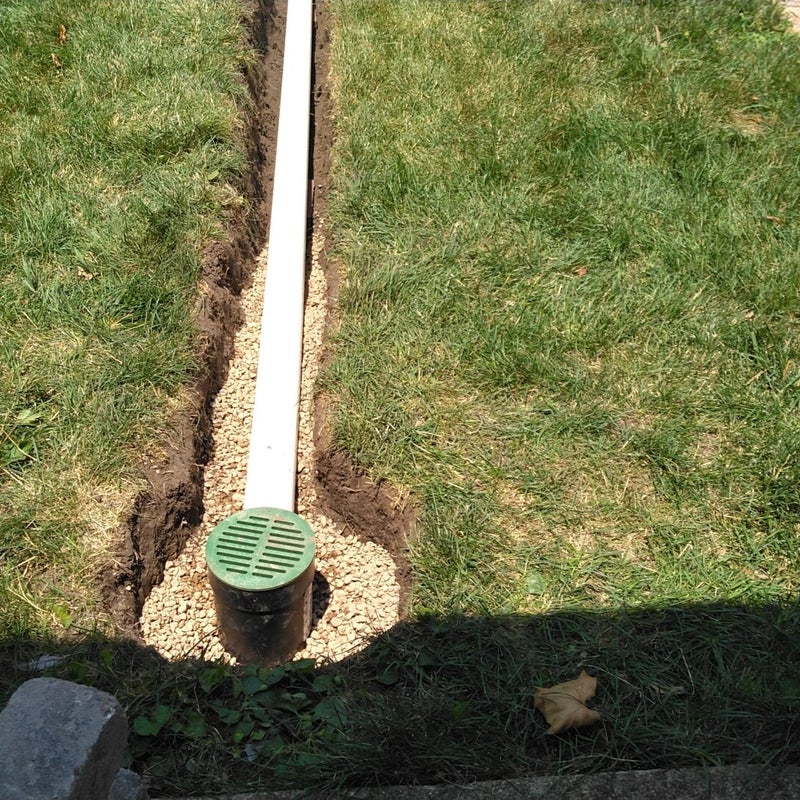
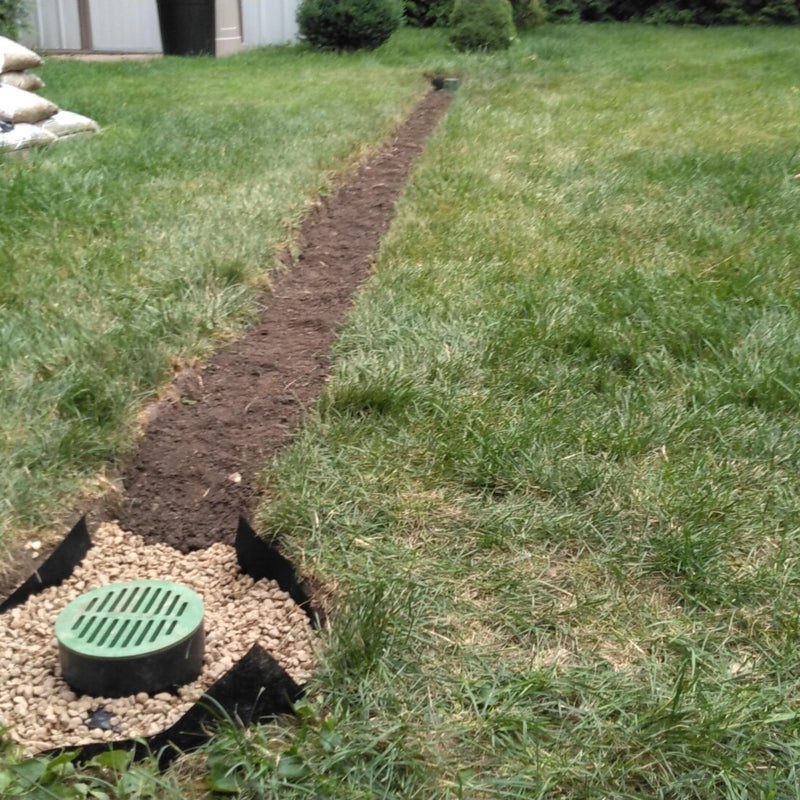
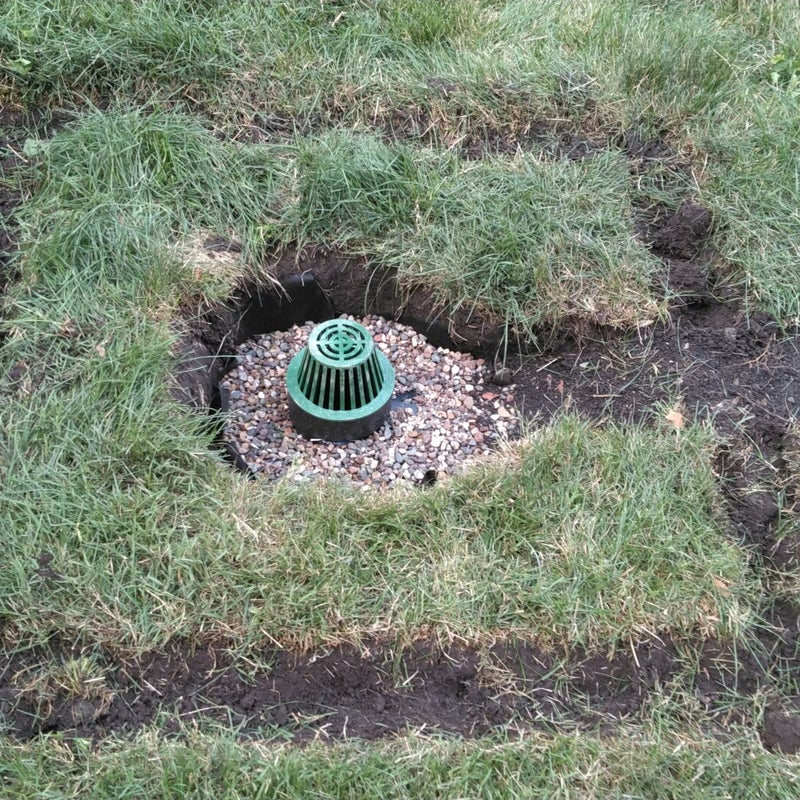
Catch Basin shown in approximate place where it will be placed after hole is dug.

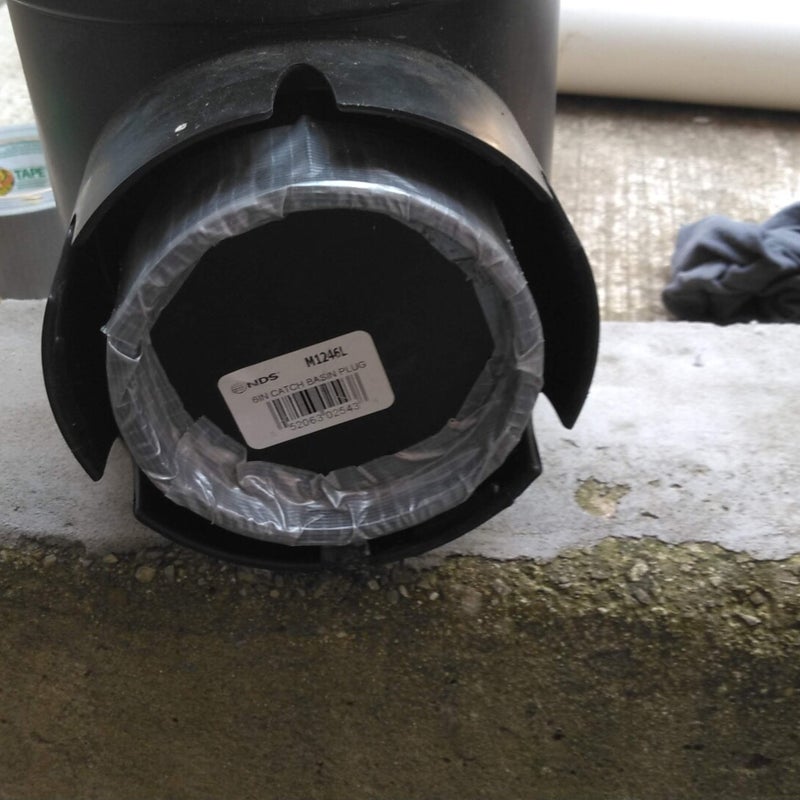
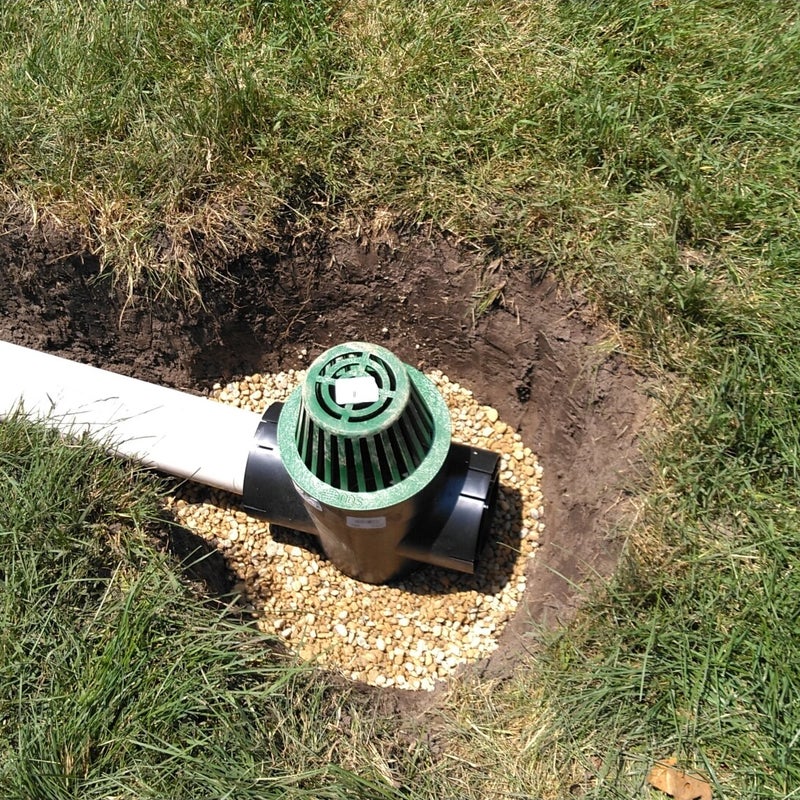
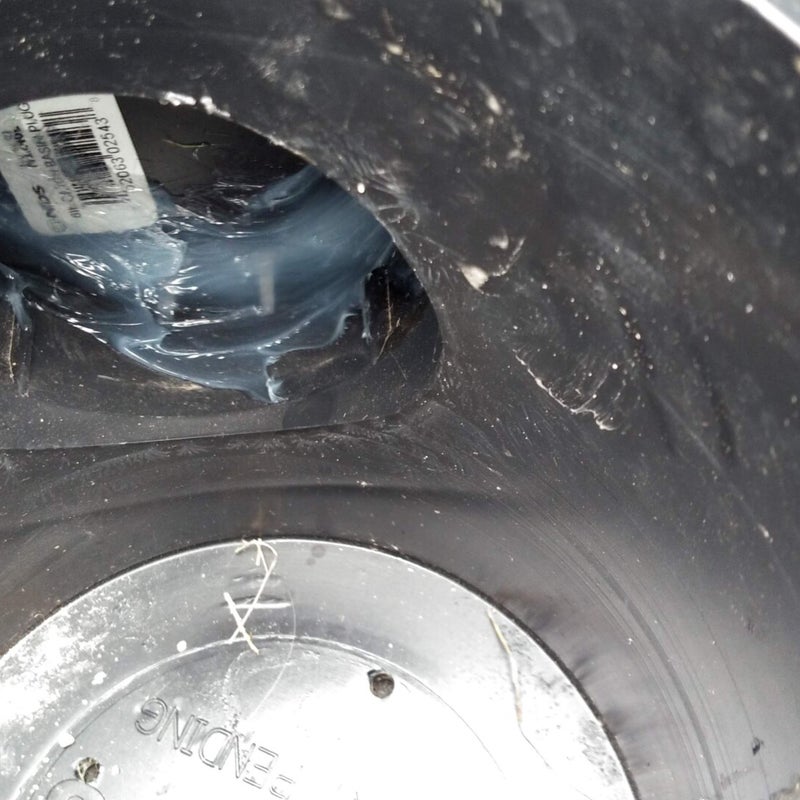
Catch Basin shown with a 90-degree fitting in one of the side pipe holes--the other hole is not going to be used and a pipe cap is plugging it.

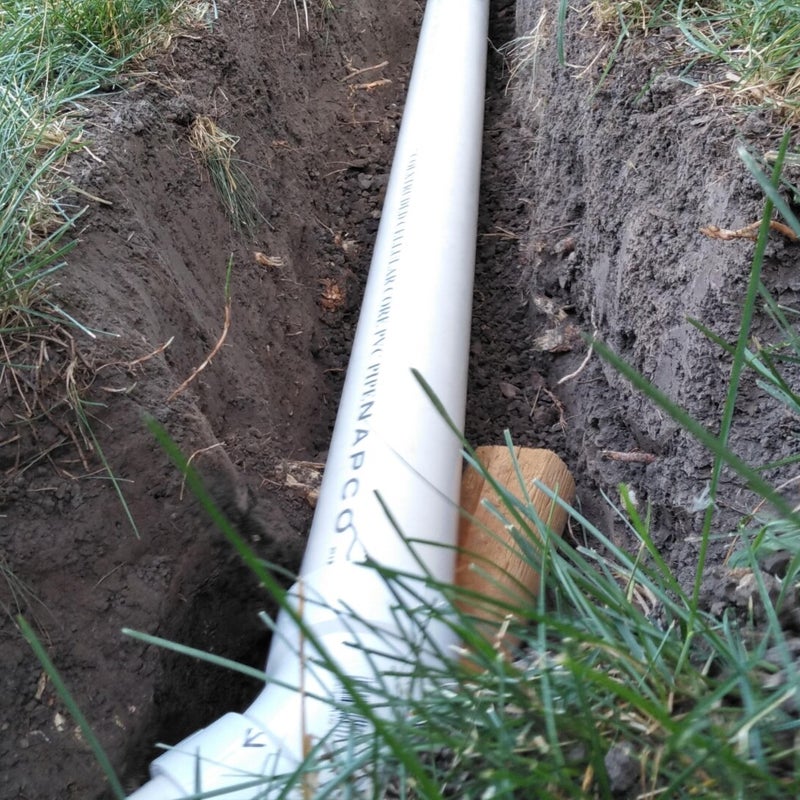
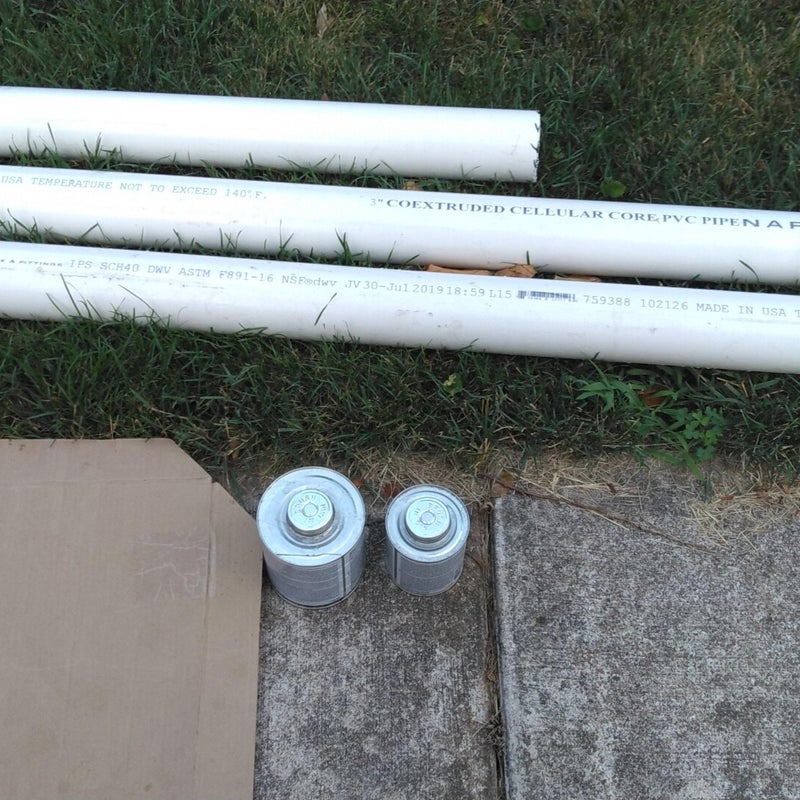
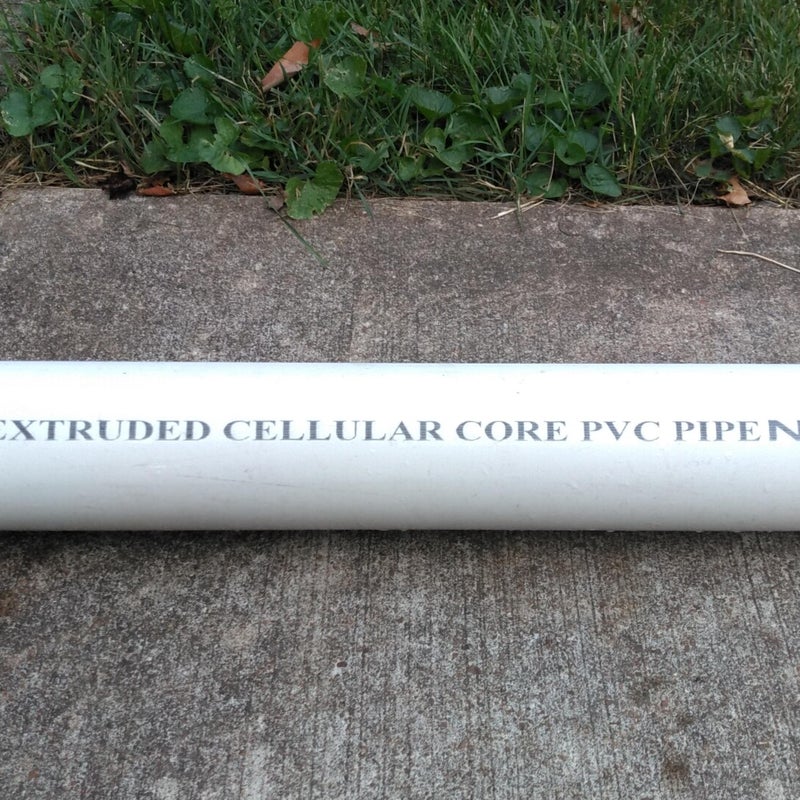
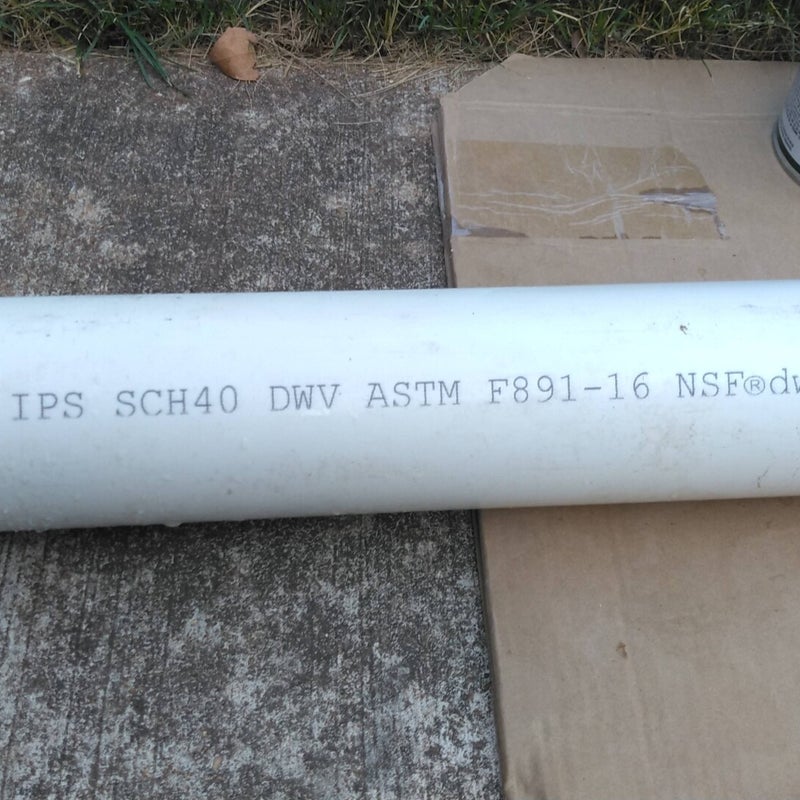
Cellular Core PVC Pipe chosen for this project--other types could be used instead.

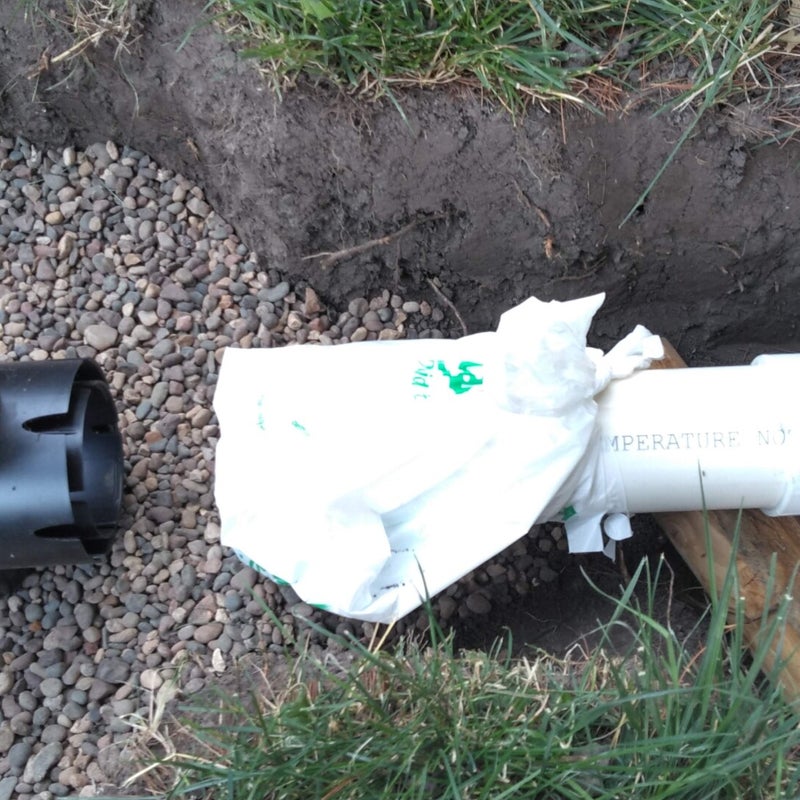
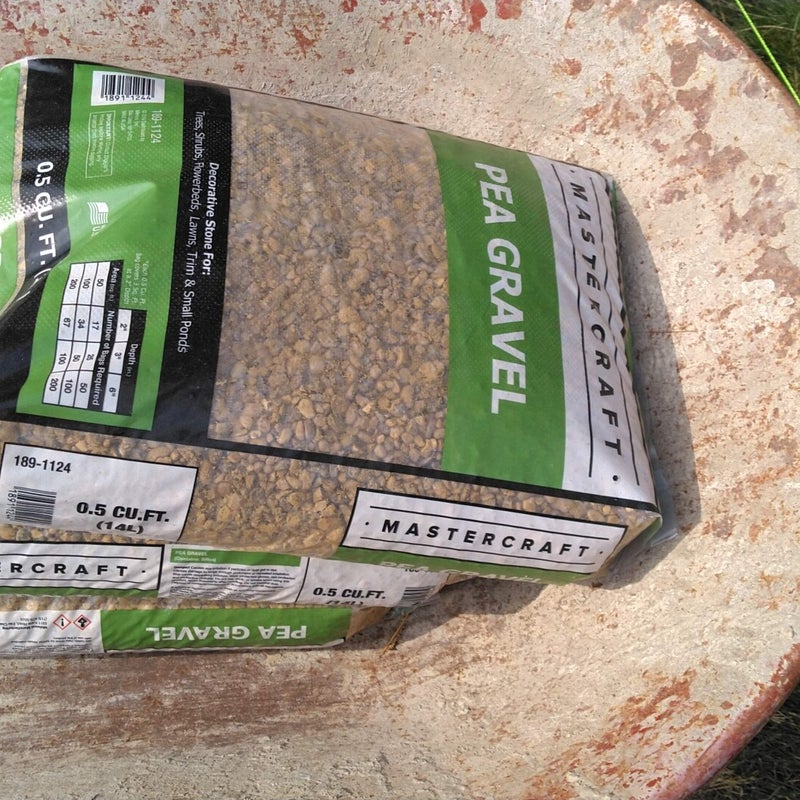
Pea Gravel used under and around the catch basin when it is installed in the dirt.

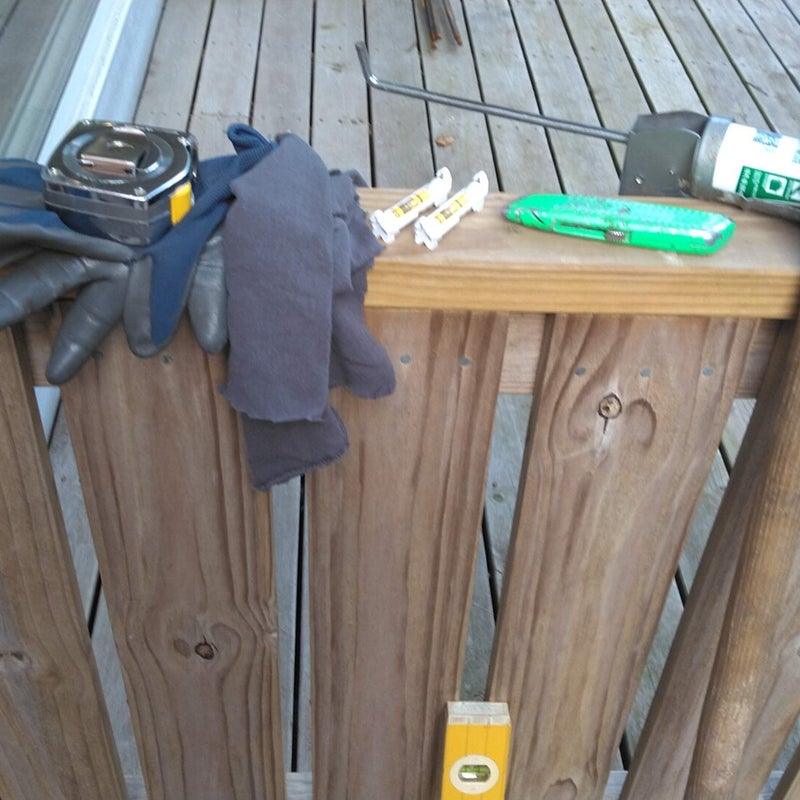
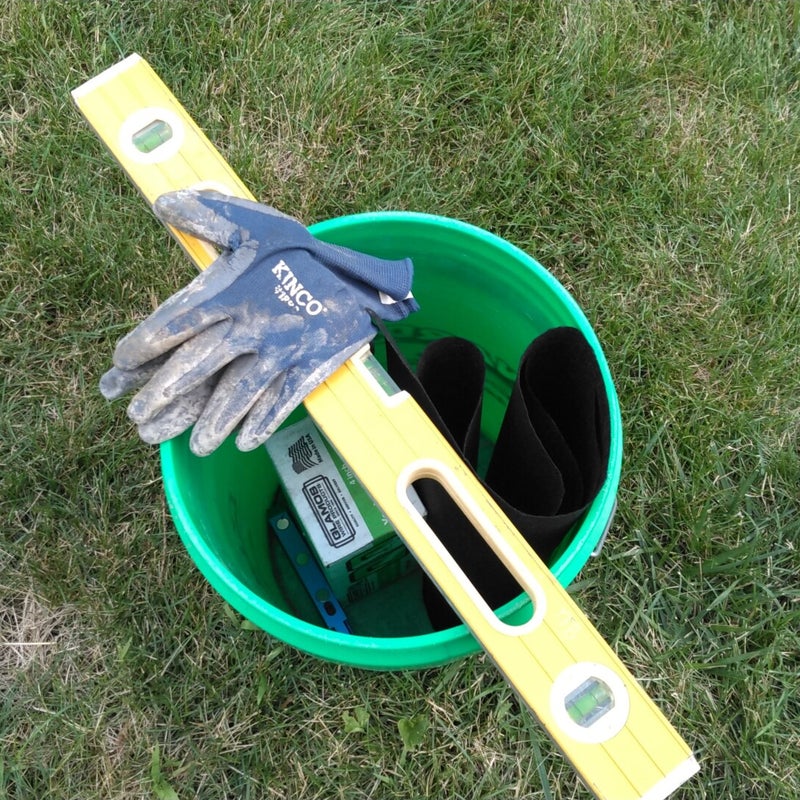
Tools needed for trenching and laying the pipe: Shovels and Levels.

More Tools: Gloves, Measuring Tape, Marker (Sharpie), Pencil, and two Line Levels.

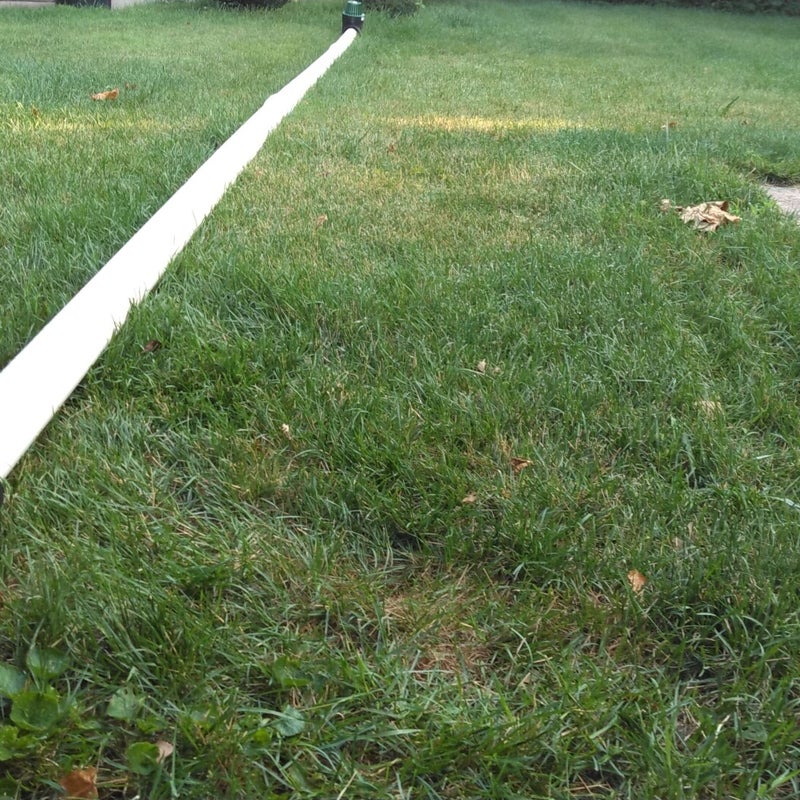
Pipe laid out approximately where it will be needed.


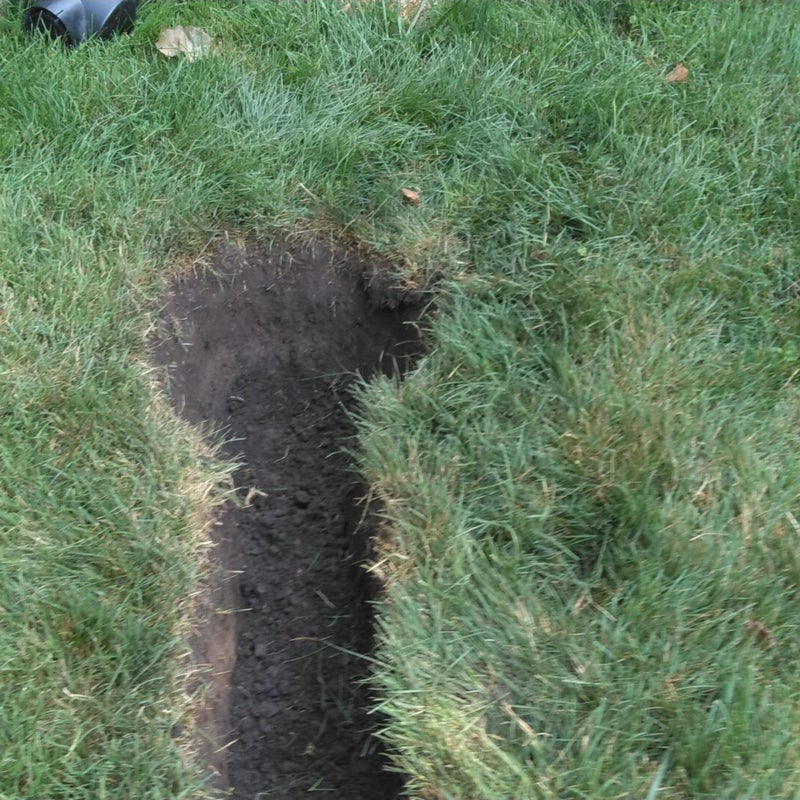
The hole for the first catch basin is dug.

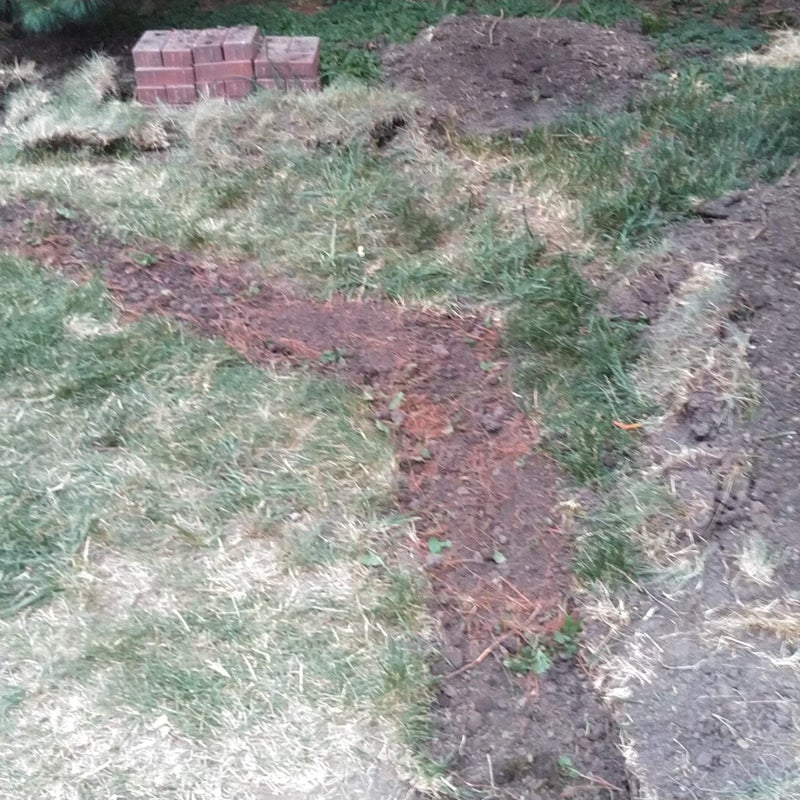
The first fifteen feet of the trench is dug.

Parts and more tools shown. The pipe fittings need returned and the right size fittings purchased. These fittings are for thin wall PVC and not thick wall schedule 40.

Back from the supply store with the proper schedule 40 PVC fittings. These are the right size for this project. Another catch basin is also picked up--this one has only one pipe hole and it is designated for the front yard catch basin which will be installed lastly. The other catch basins have two pipe holes in case another pipe is added in the future--probably won't be but the original plan called for this option. Pipe caps are used to plug any holes in the catch basins that aren't used.


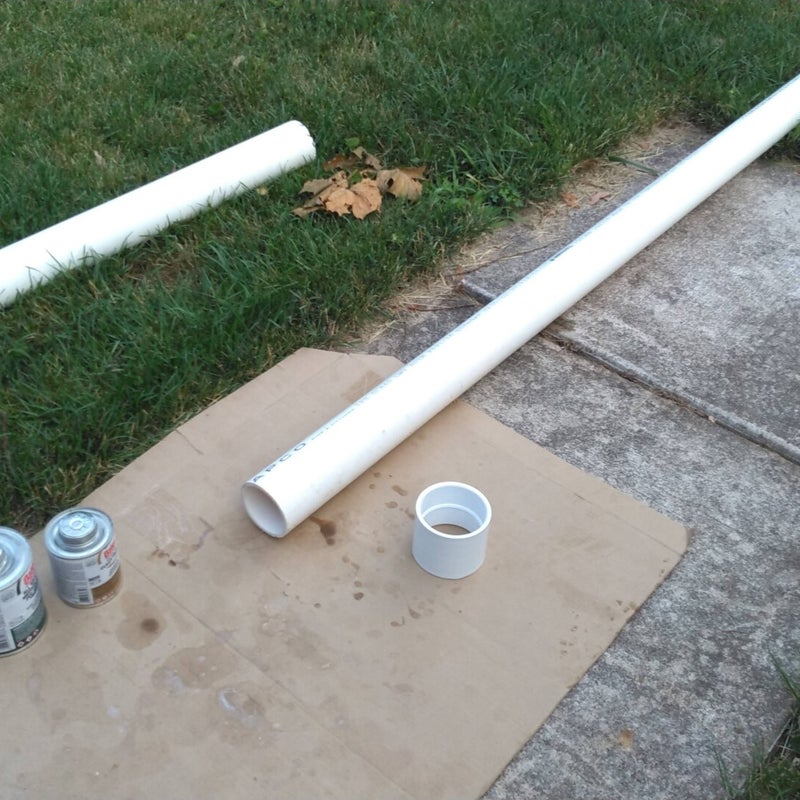
PVC pipe primer and glue are used to join the pipes and fittings together.

A large piece of cardboard is used to keep the primer and glue for the pipe and fitting from getting on the concrete.


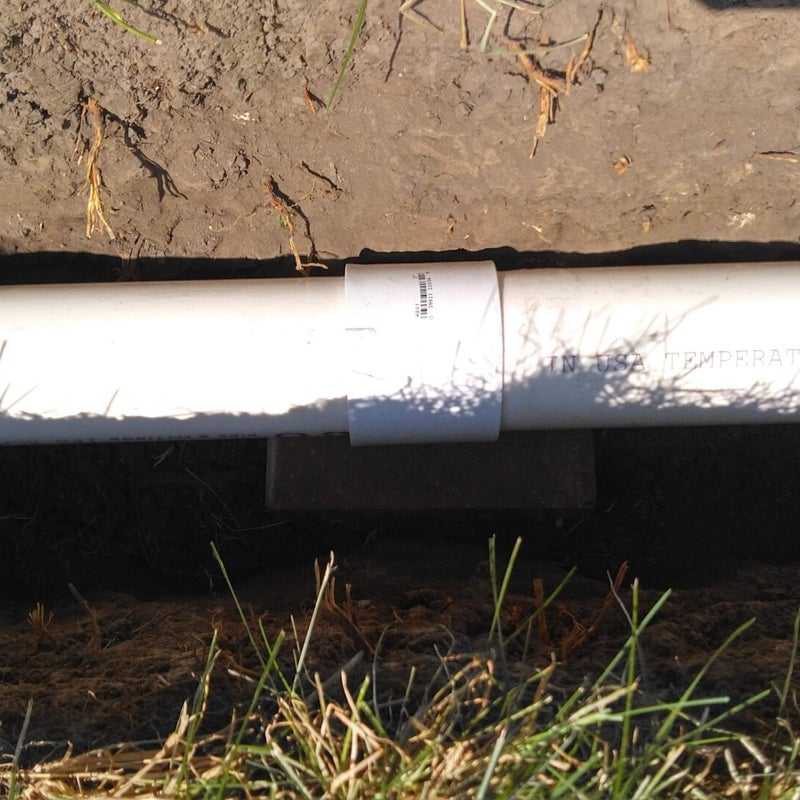
Coupling--schedule 40 PVC 3-inch.


45-degree schedule 40 PVC 3-inch fitting.

The 3-inch schedule 40 PVC pipe and the 45-degree coupling are glued together. The arrow marked on the top aligns the pipe and fitting to ensure the proper slope is maintained. The 1/8-inch per foot slope (at the least) for proper water drainage in the catch basin and piping is maintained by keeping the fittings straight the entire pipe run.

By putting the pipe together on top of the ground the ditch can be dug afterward so that it is dug exactly where needed and the pipe is much easier to glue together this way.


Time for a break. This chair looks comfortable.

Take 15-minutes to cool down and rest. This is a long and hot day ahead--today the temperature is going to get in the low 90's. Drink some extra water.

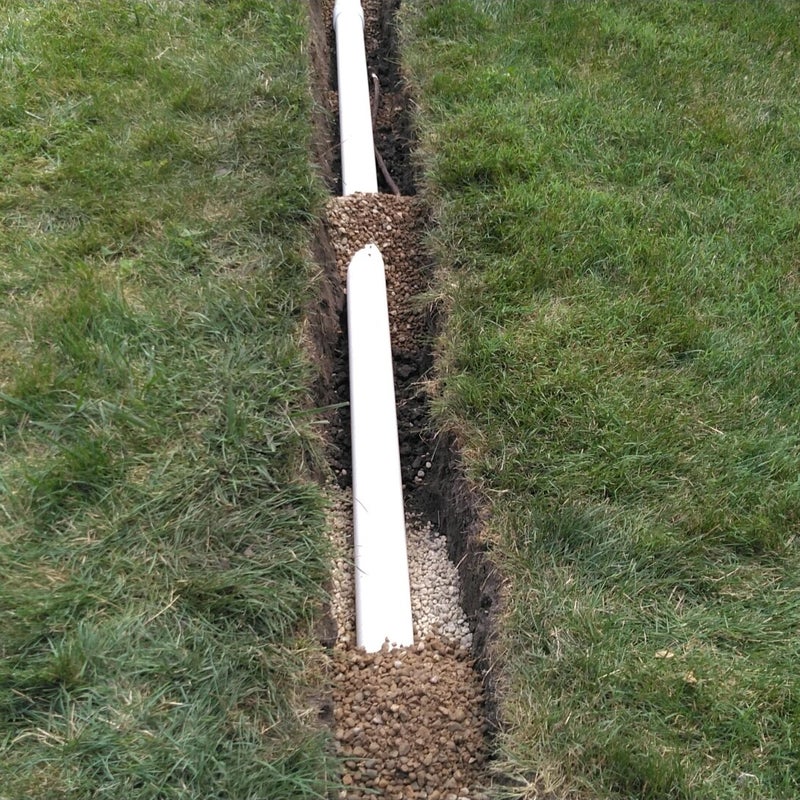
The pipe is placed directly above where it will go in the trench by putting short pieces of wood across the top of the trench. The slope of the pipe is also checked by putting extra wood under it to make the slope exactly what it needs to be.

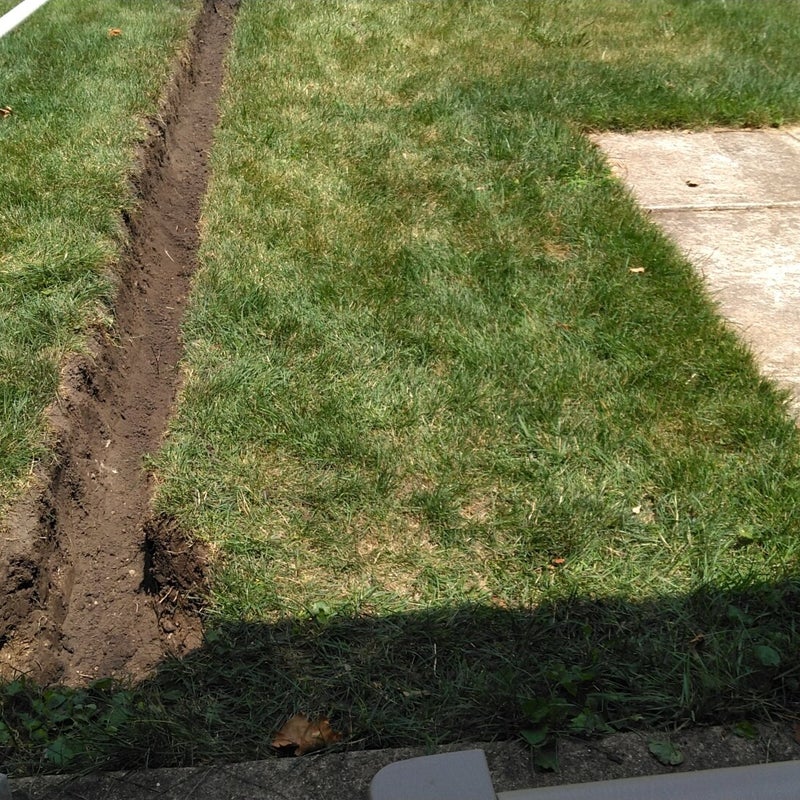
The trench can be dug exactly where needed this way. The grass is cut with the round point shovel down about 4-5 inches and then the pipe is moved over to dig out the trench.


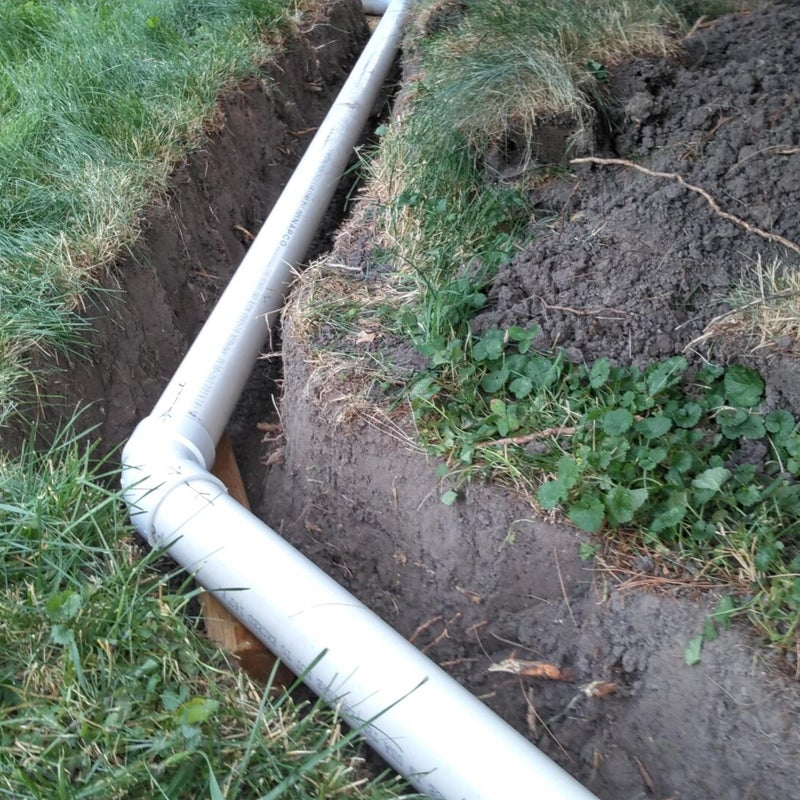
Another 45-degree schedule 40 PVC fitting will be needed at this point where the pipe is crossed over.

The fluorescent string (used with the line level) is seen above the pipes used to make sure the pipe slope is maintained properly.

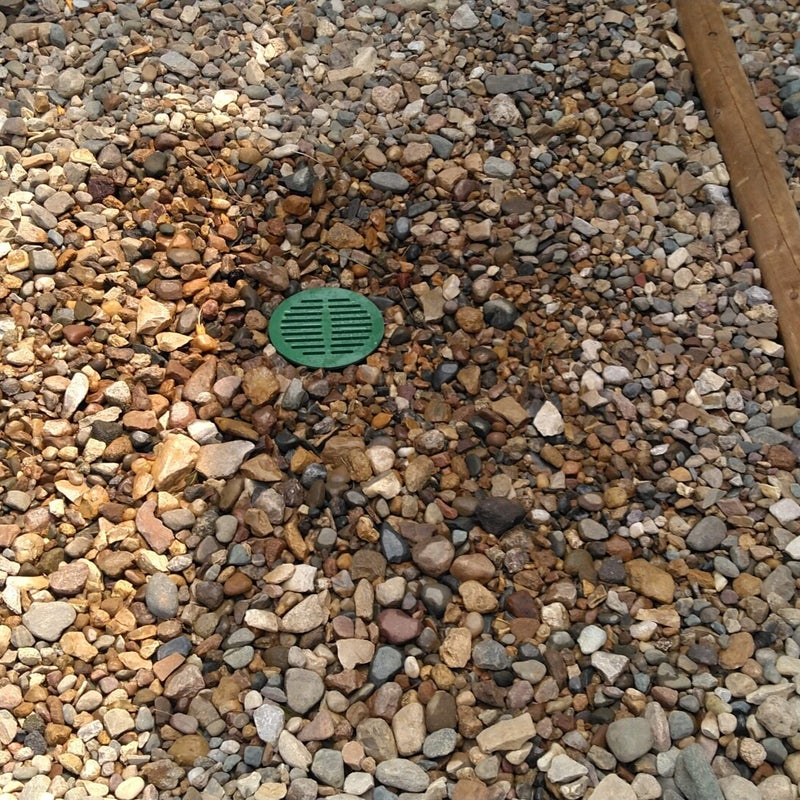
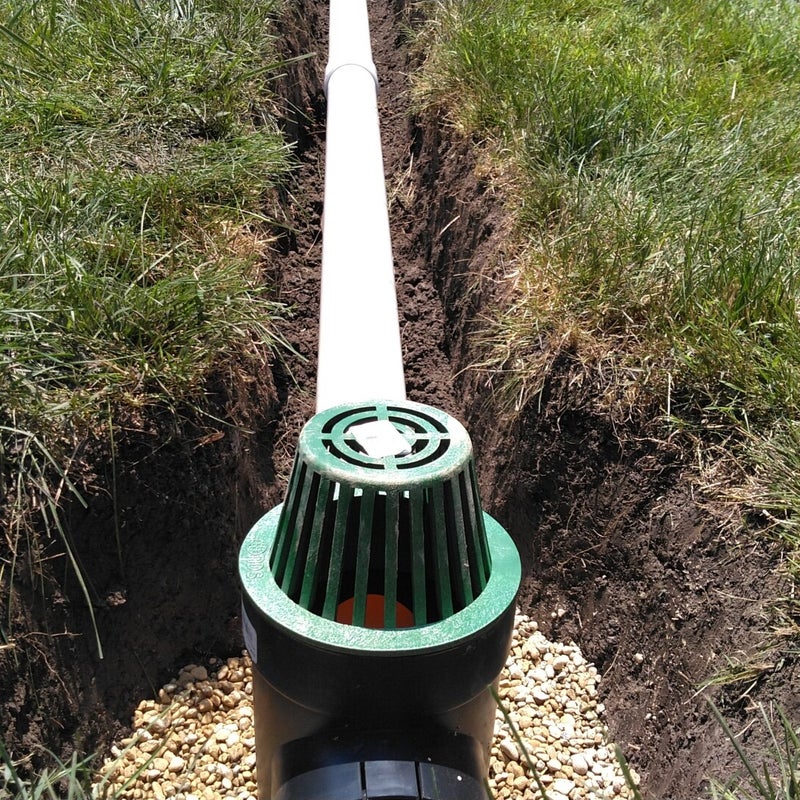
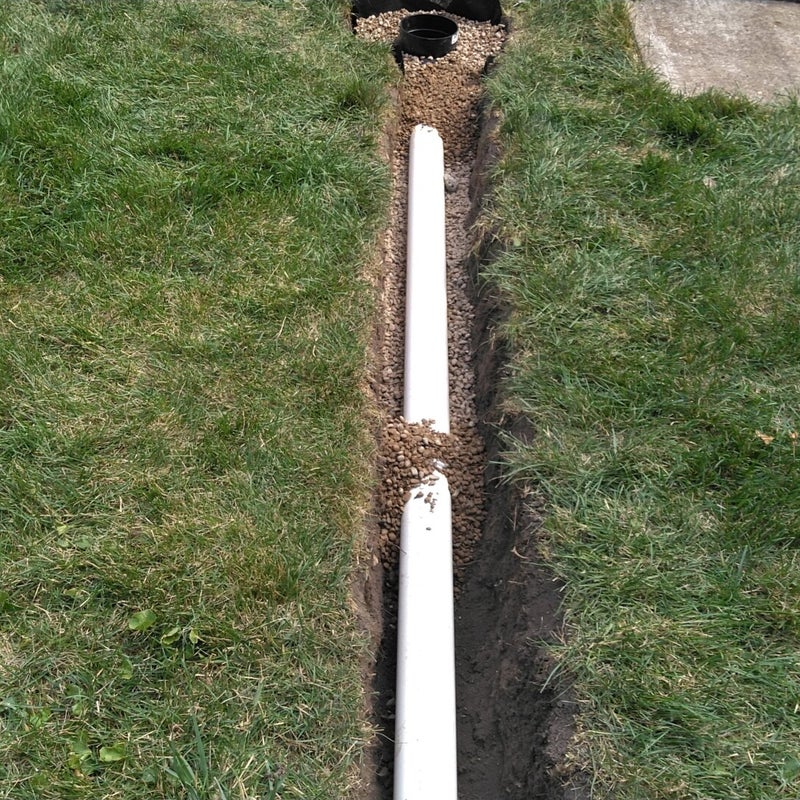
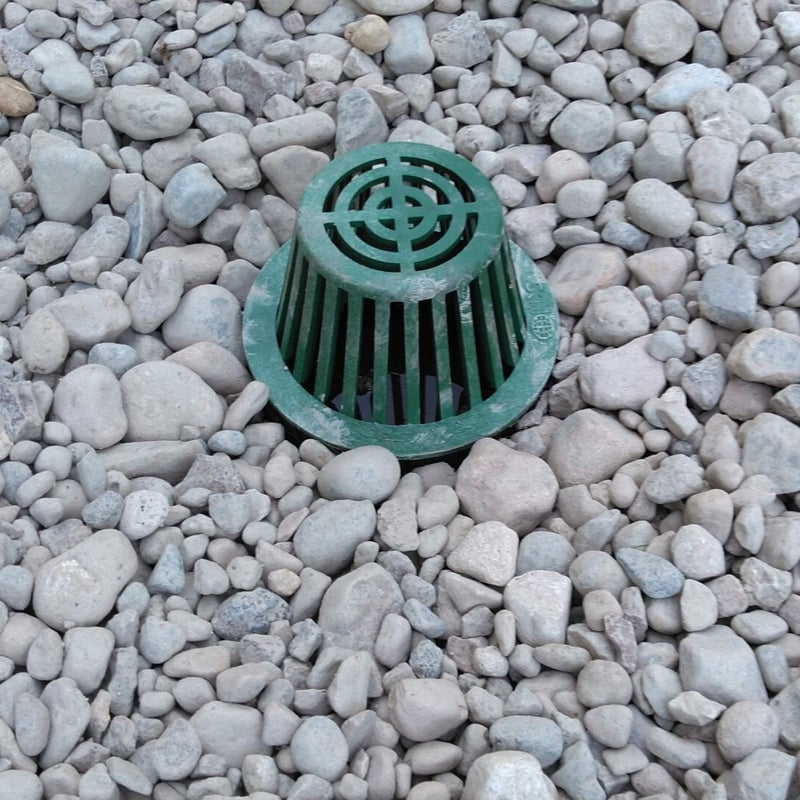
The output drain catch basin can be seen at the far end of the pipe.

The ground slopes downward to this area in the yard where the water can drain away far enough from the house foundation during sizable rainfalls and snow melts.

There is a ridge at this spot in the backyard and the trench has to be dug deeper. The pipe is run to the other side of this ridge where the ground starts sloping away from the house.

Large roots are in the way of digging deeper.

There is also some old floor tiling that must have been buried here when the house was originally built in the year 1958. Not much but it has to be dug up and out of the way for the piping.

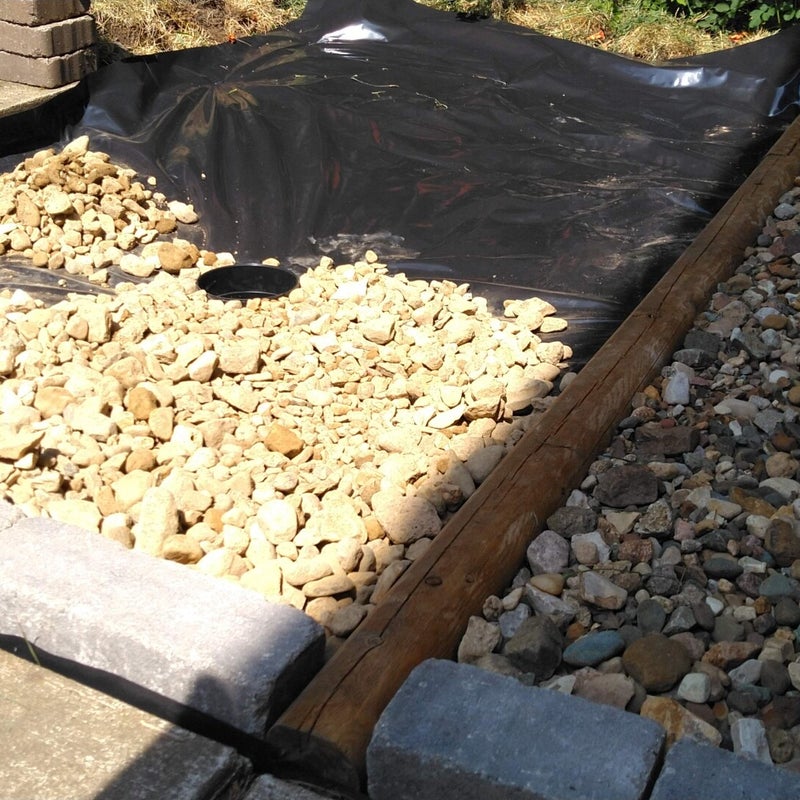
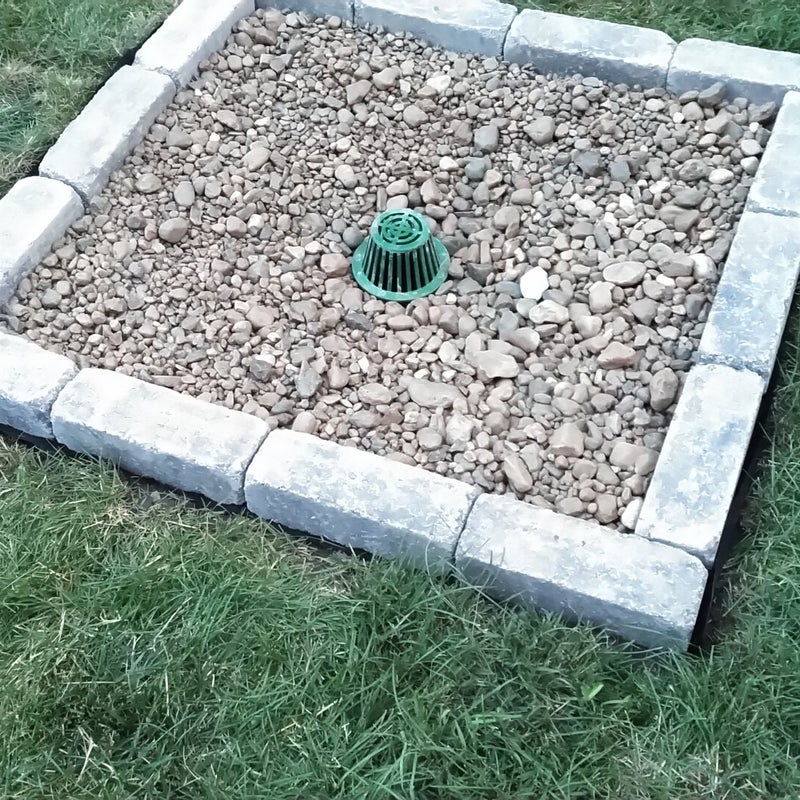
The far end of the catch basin for the water to drain out here. A low spot in the backyard 15-feet closer to the house than originally planned. Great--less trenching to do and less piping is needed!

The large roots of the big Loblolly Pine Tree are found at 10-12 inches deep. The trench needs to be deeper and the shovel can't cut through them. This tool will cut through the roots the easiest and cleanest. The Sawzall--a great tool for tasks such as this one.

Within 5-minutes the roots are all cut through.


The Sawzall easily cut through the roots. The trench can now be dug deeper.


The arrows marked on the pipe are there to align the fitting to make sure that the proper slope is maintained as the pipe and fitting are glued together.

The last fitting for this run of pipe in this catch basin is glued on--a 90-degree schedule 40 PVC in 3-inch. The cardboard keeps the grass and dirt out of the pipe and glue.

The plastic bag is tied over the end of the pipe to keep debris out and any small animals and birds out as well.

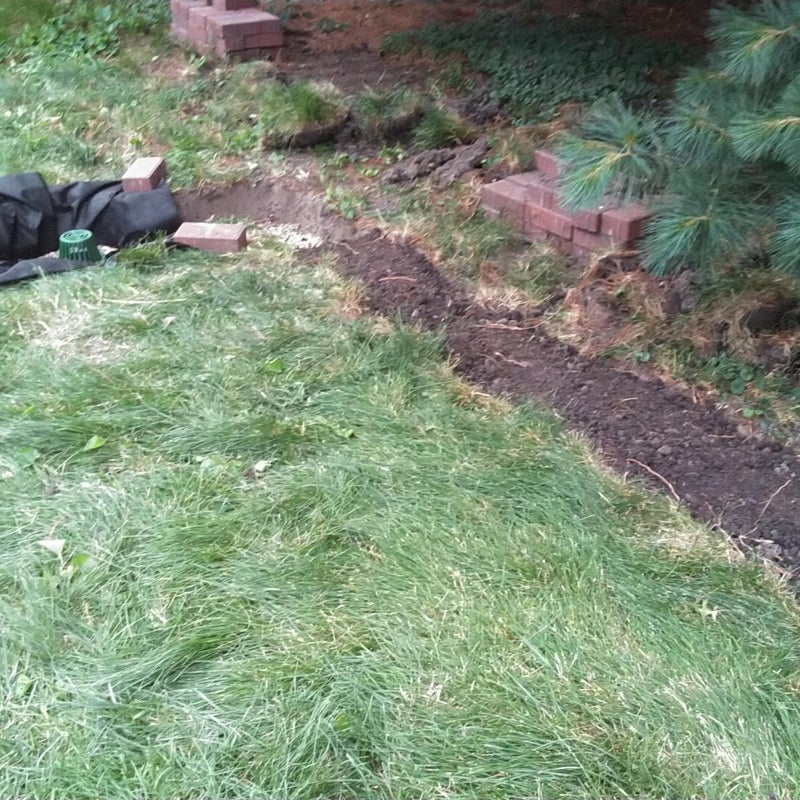
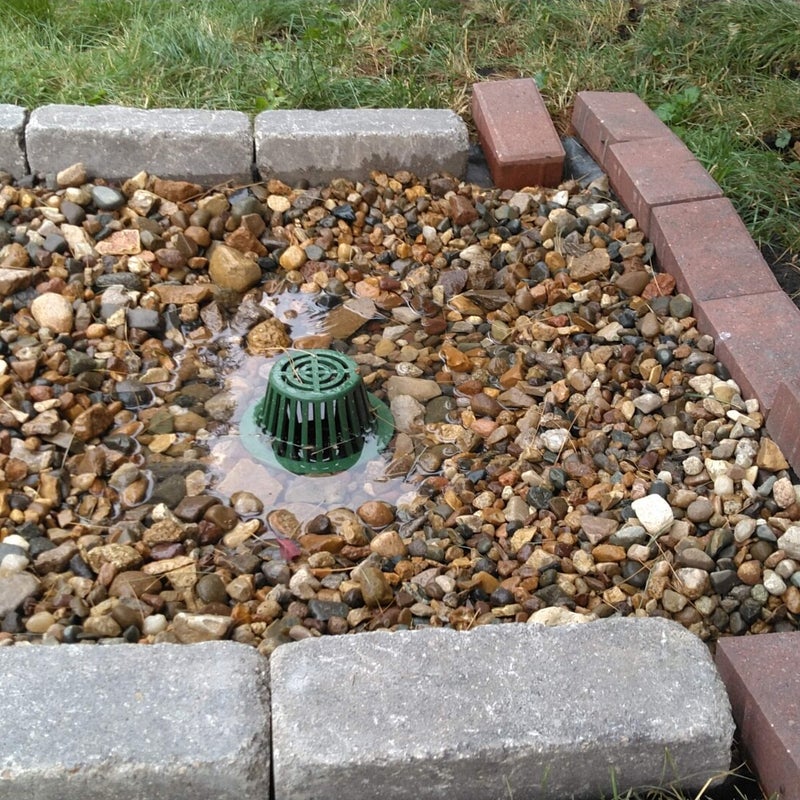
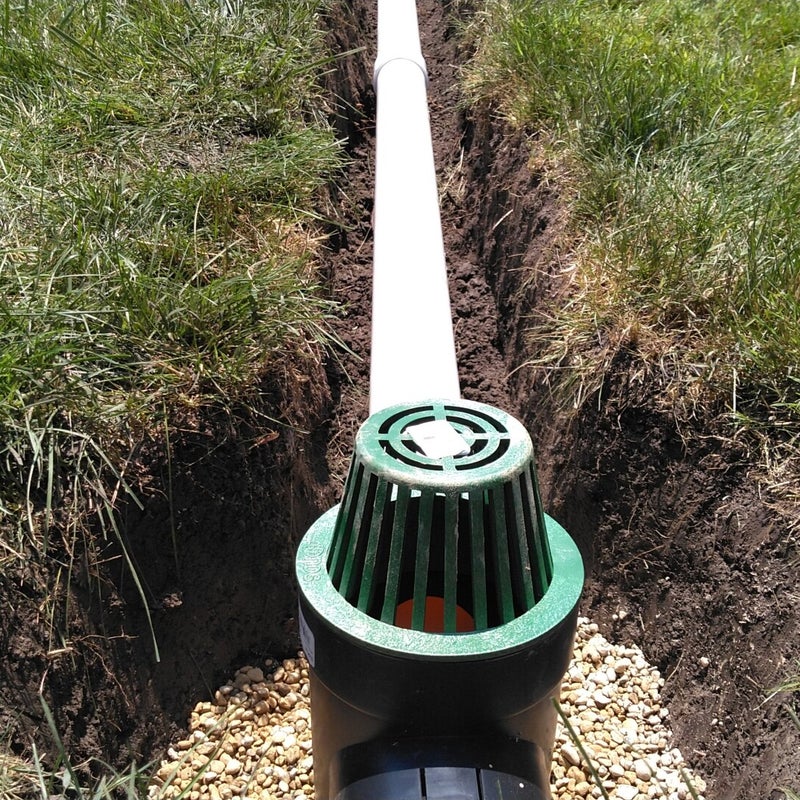
The trench and pipe with the output catch basin where the water will drain out. Trench and pipe are ready for the next step.


June 22, 2023: Progress on Catch Basin Run #1
June 24, 2023: Progress on Catch Basin Run #1
June 27, 2023: Water Drain Test Catch Basin Run #1
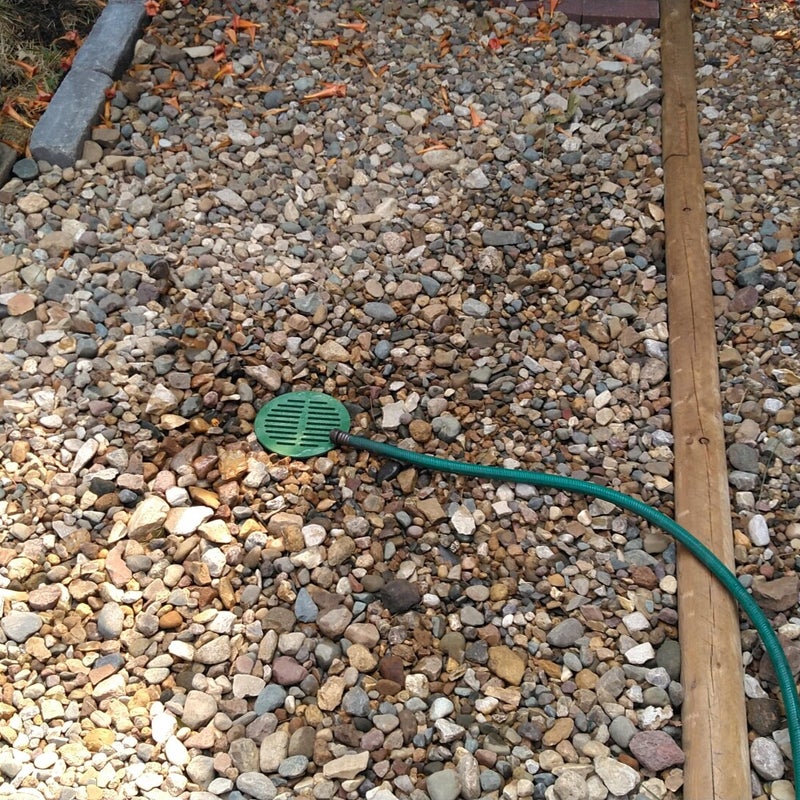
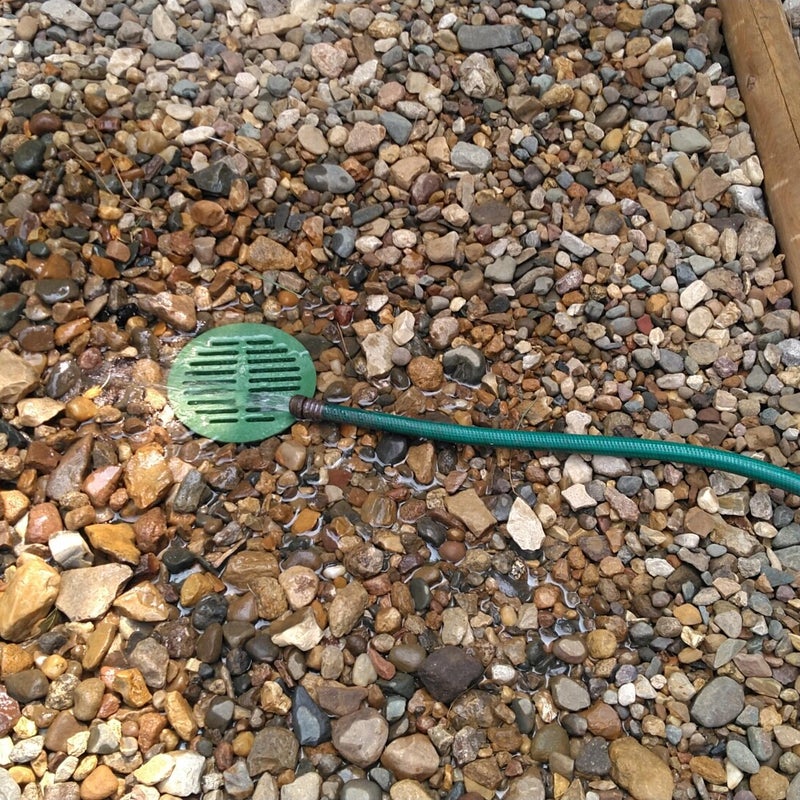
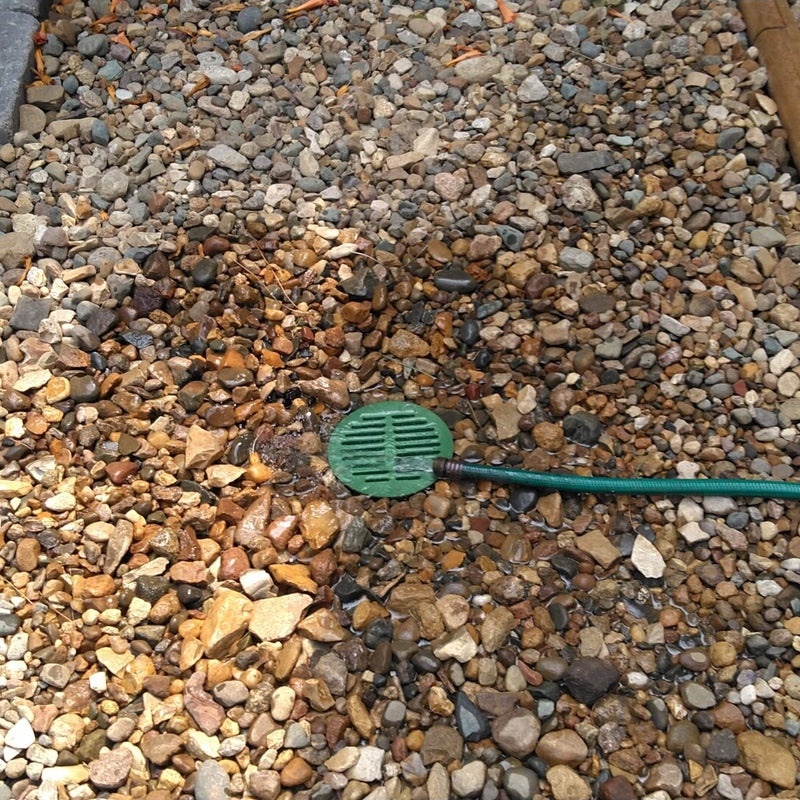
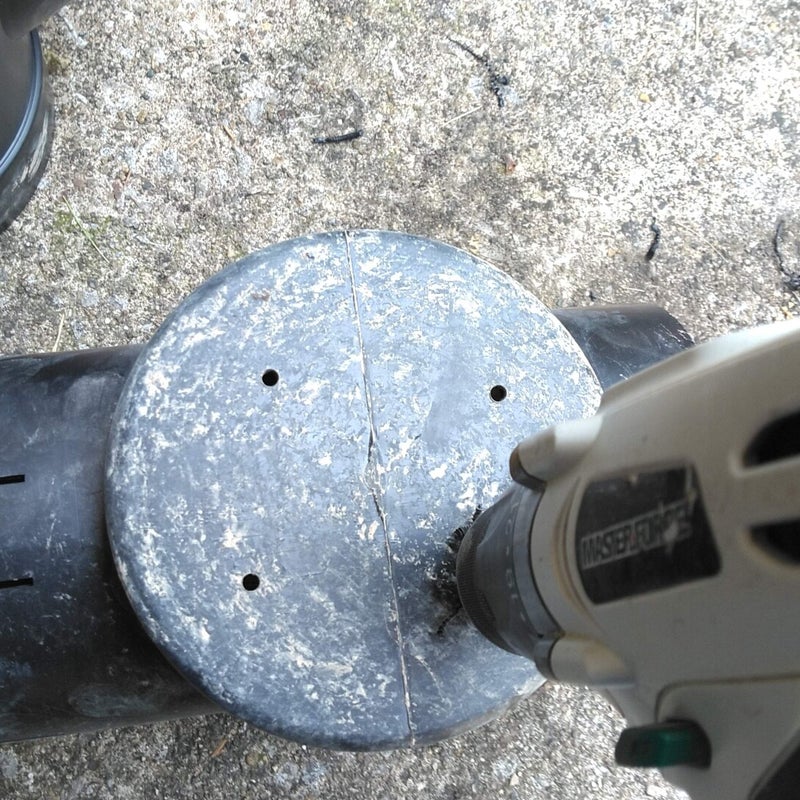
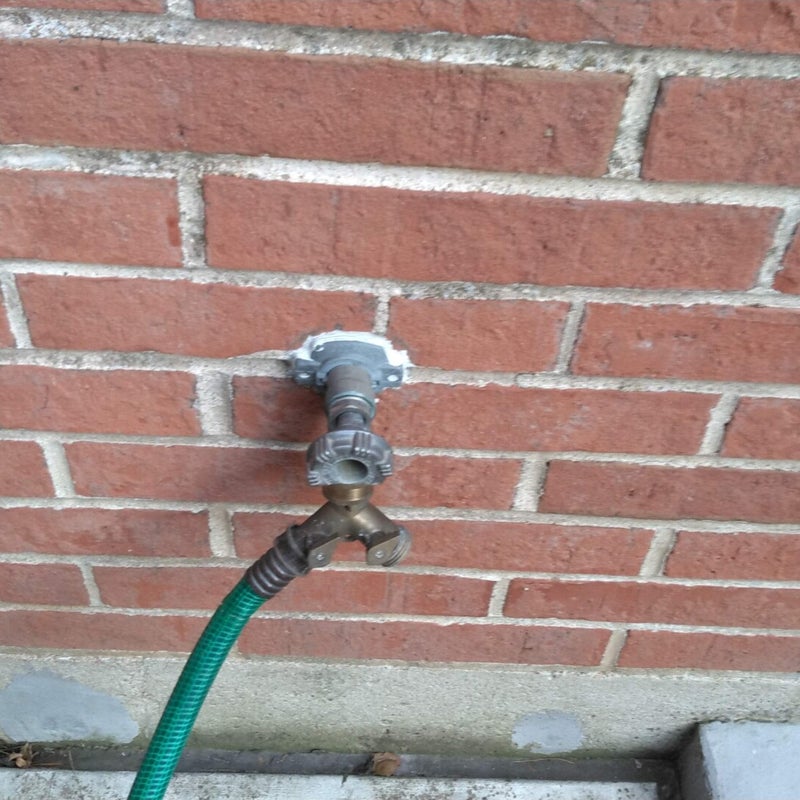
On June 27, 2023, Catch Basin Run #1 was tested for water drainage. Water from a garden hose at an outdoor faucet was turned on and allowed to run into the input basin supplying water at approximately 7.5 gallons per minute (gpm) to find out if the water will drain properly through the catch basin run and out. The water ran for over 30 minutes and then was turned off to see how long it takes for the catch basin to drain the water out the piping and bottoms of the basin. Within 11 minutes the water in the piping and basin was almost completely drained out through the weep holes that were drilled in the bottom of the basins. The catch basin run #1 passed with flying colors--successfully done.
June 28, 2023: Catch Basin Run #2 First Day
July 5, 2023: Progress on Catch Basin Run #2
July 7, 2023: Progress on Catch Basin #2
July 8, 2023: Progress on Catch Basin Run #2
August 10, 2023: Catch Basin #2 Water Test
Catch Basin Run #2 completed. Water test was done on July 10, 2023. Water Test completed and passed. Catch Basin Run #2 drained perfectly. Note: Catch Basin Run #3 will be installed in Spring 2024... Check back early next Spring for updates...


